Eclipse Setup Instructions
Table of Contents
Prerequisites
These instructions assume you have already installed:
- Python 2.7.
- Trusted Analytics Platform Python REST Client and required dependencies.
- Eclipse Standard.
Trusted Analytics Platform should work with any version of Eclipse, but these instructions were tested with Eclipse Standard Version 4.4 Luna.
If you are on a corporate network, you may need to configure proxy settings in Eclipse before beginning (see Eclipse Help ).
Setup
Download, install, and start the Eclipse IDE.
Choose .
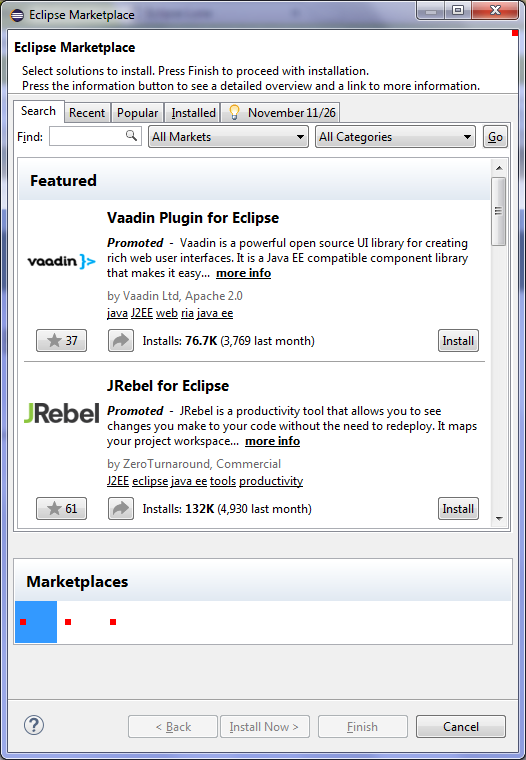
If the marketplace screen does not come up, you may need to configure proxy settings (see Eclipse Help ).
Search for “PyDev” and choose PyDev - Python IDE for Eclipse 3.6.0 or newer version.
- Choose Confirm button.
- Choose Accept when prompted for license agreement.
- If prompted “Do you trust these certificates?”. Select “Brainwy Software; PyDev; Brainwy” and choose the OK button.
- When prompted to restart Eclipse, choose the Yes button.
Choose the default Workspace.
Choose .
- Choose the PyDev folder and PyDev Project and choose the Next button.
- Give your project a name, for example “myproject”.
- Choose version 2.7.
- Choose Please configure an interpreter before proceeding.
- Choose Manual Configure.
- Choose the New button.
- Browse for Python 2.7. On RedHat and CentOS this is probably /usr/bin/python.
- Choose the Ok button.
- Choose the Ok button.
- Select the interpreter you just setup from the Interpreter drop-down.
- Choose the Finish button.
- When prompted “This kind of project is associated with the PyDev perspective. Do you want to open this perspective now?” choose Yes.
Right click your project folder, for example, “myproject”.
- Choose Properties.
- Choose PyDev - PYTHONPATH in the left hand pane.
- Choose the External Libraries tab.
- Choose Add source folder button.
- Browse for the Trusted Analytics Platform Python REST Client libraries. On RedHat and CentOS these are found under ‘/usr/lib/trustedanalytics/rest-client/python’.
- Choose the OK button.
Right click your project folder, for example, “myproject”.
- Choose .
- Give it the name “src” and choose the Finish button.
Right click src folder and choose .
- Give the file name ‘test.py’.
- If prompted, confirm the default settings for PyDev by choosing OK.
- Close the Help keeping PyDev alive dialog, if it appears.
- In order to connect to the analytics instance in TAP follow instructions here
Next take a look at the included examples.